Adding a COG
A cloud optimized GeoTIFF is a regular GeoTIFF file, aimed at being hosted on a HTTP file server, whose internal organization is friendly for consumption by clients issuing HTTP GET range request (“bytes: start_offset-end_offset” HTTP header).
It contains at its beginning the metadata of the full resolution imagery, followed by the optional presence of overview metadata, and finally the imagery itself. To make it friendly with streaming and progressive rendering, we recommend starting with the imagery of the smallest overview and finishing with the imagery of the full resolution level.
Open the web browser and navigate to the GeoServer Welcome Page.
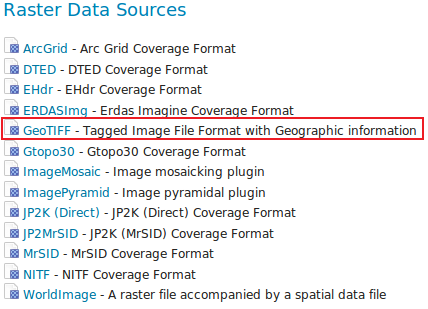
Select Add stores from the interface.

Select GeoTIFF - Tagged Image File Format with Geographic information from the set of available Raster Data Sources.

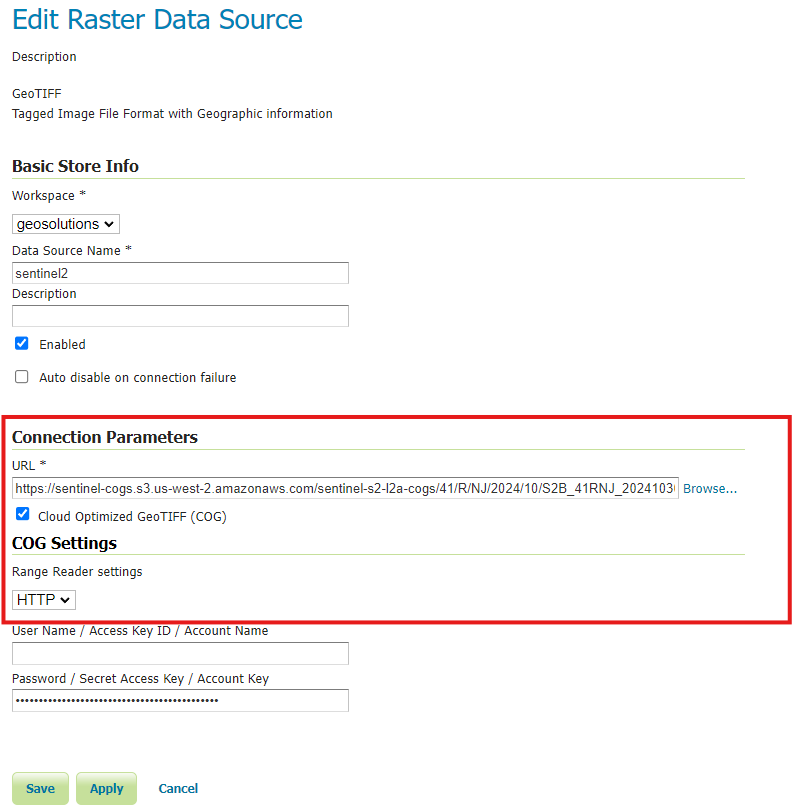
Specify a proper name (as an instance,
sentinel2) in the Data Source Name field of the interface.Click on checkbox Cloud Optimized GeoTIFF (COG) and make sure HTTP is selected on the Range Reader Settings. Lastly, add the following path to the GeoTIFF location in the URL field.
Note
Link to the S3 file used.
Click Save.
Publish the TCI (True Color Image) layer by clicking on the publish link.
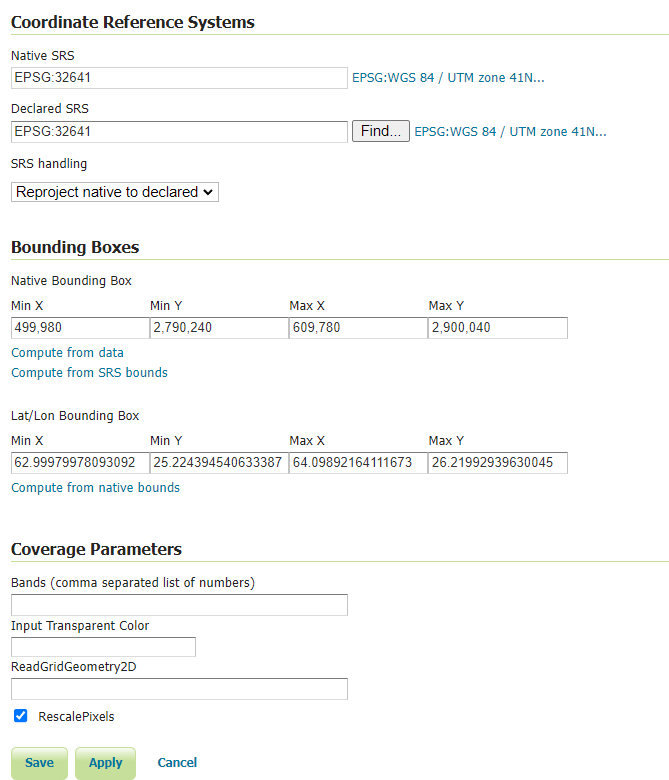
Check the Coordinate Reference Systems and the Bounding Boxes fields are properly set and click on Save.

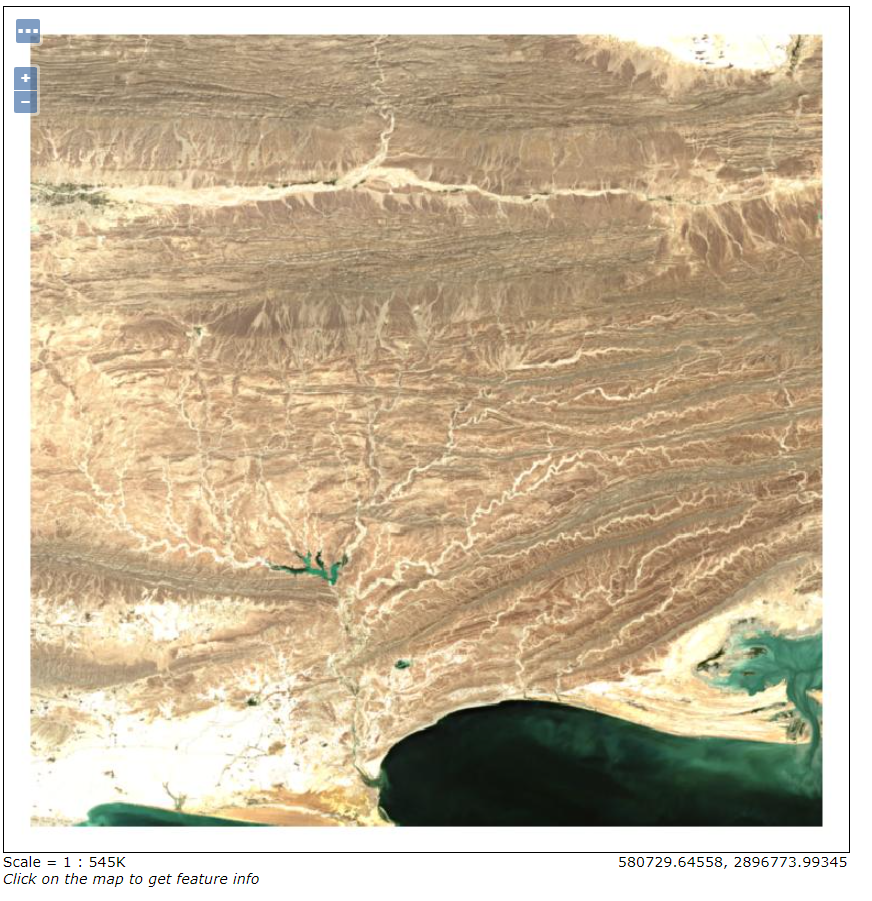
At this point the COG is being published with GeoServer. You can use the layer preview to inspect the data.


