
Adding an Image Mosaic to GeoServer
This section covers the task of adding and publishing an ImageMosaic file with GeoServer.
Navigate to the GeoServer Welcome Page.
On the Welcome page locate the Login form located at the top right corner, and enter the username admin and password Geos.
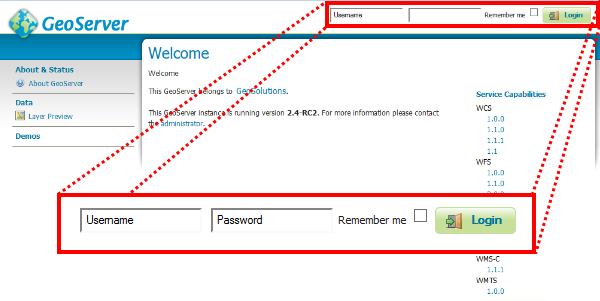
GeoServer Login
Click the Add stores link.
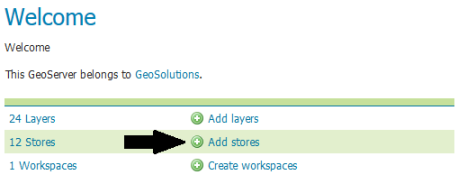
Add stores link
Select the ImageMosaic link and click it.
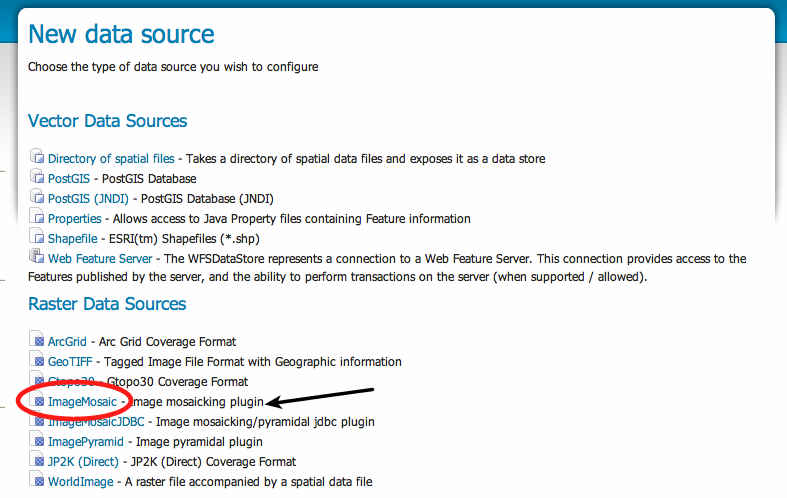
Add a new Image Mosaic
On the Add Raster Data Source page enter : “boulder_bg” in the Data Source Name and Description fields, file:${TRAINING_ROOT}/data/user_data/aerial (on Windows
%TRAINING_ROOT%\data\user_data\aerial\) in the URL field (or browse the filesystem clicking on Browse), and click Save.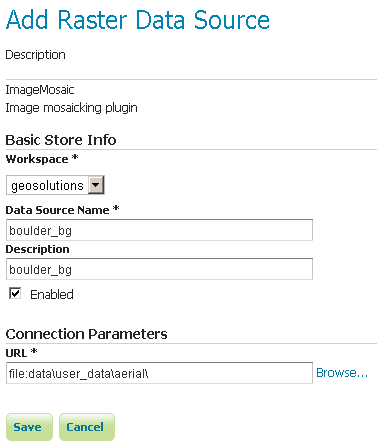
Specifying store parameters
After saving, you will be taken to a page that lists all the layers in the store and gives you the option to publish any of them. Click Publish.
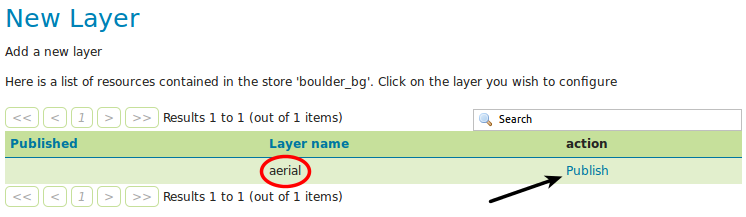
Publishing a layer from the store
The Coordinate Reference Systems should be automatically populated, as well as the Name, Title and Bounding Boxes fields.
Note
Change the Name and Title into boulder_bg as shown in the figure.
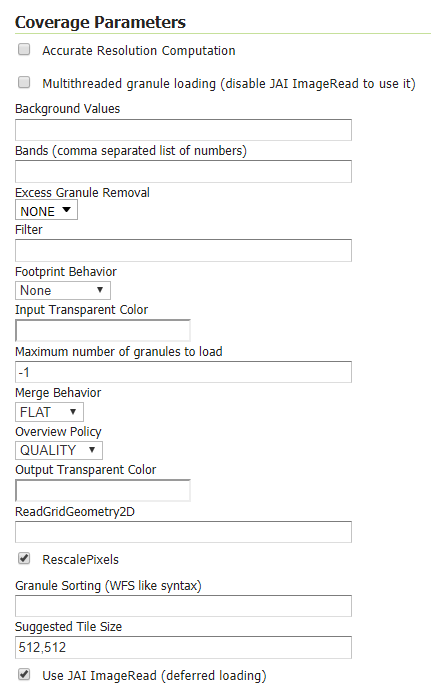
The CRS and BBox fields are auto-filled with information taken from the underlying files. The coverage options section is filled with default parameters (which will be discussed later on in the training).
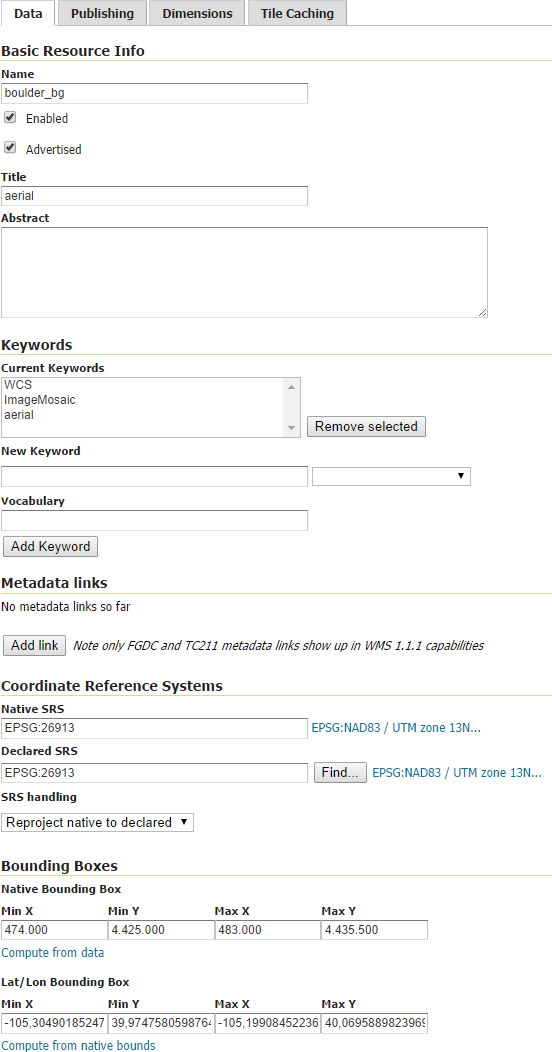
The coverage layer gui for the boulder_bg layer.

The coverage bands details
Scroll to the bottom of the page and then click Save. If all went well you should see something like this:
After a successful save.
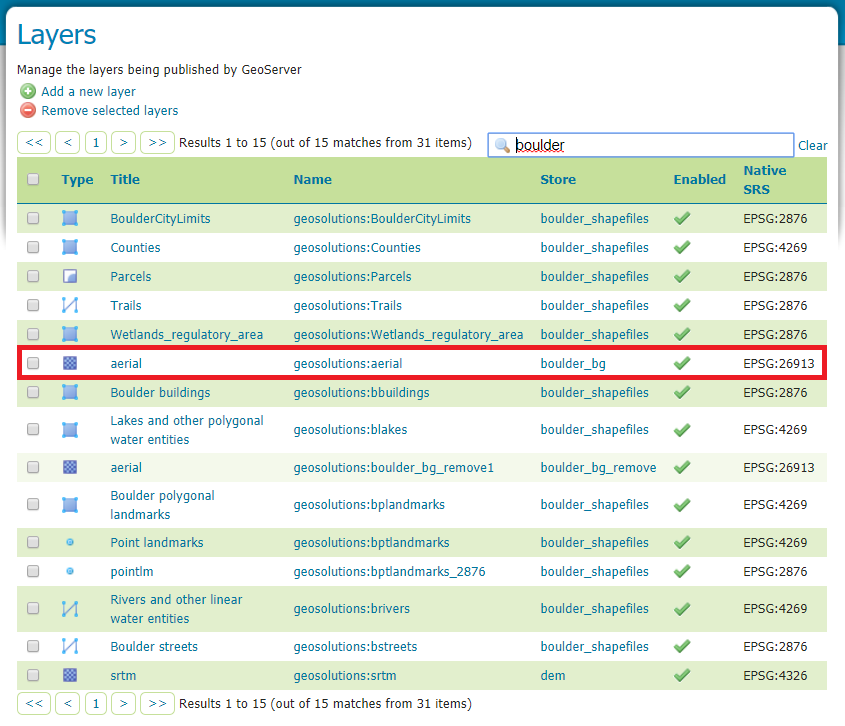
In the Layer Preview section click on the OpenLayers link to preview the layer in an interactive viewer, filtering by boulder_bg name:
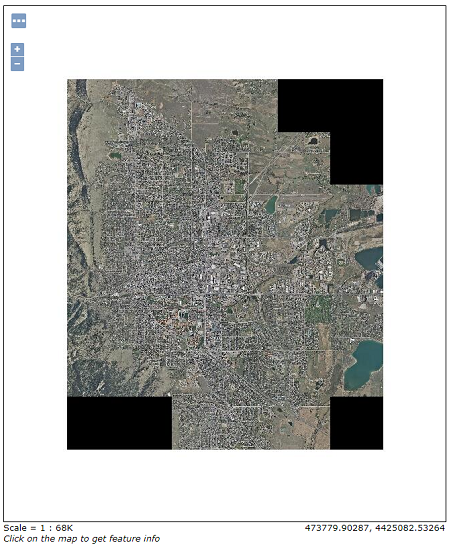
Mosaic preview.