Web Administrator Interface
In this module we will get acquainted with the GeoServer 2.26.x Web Administrator Interface.
Navigate to the GeoServer Welcome Page.
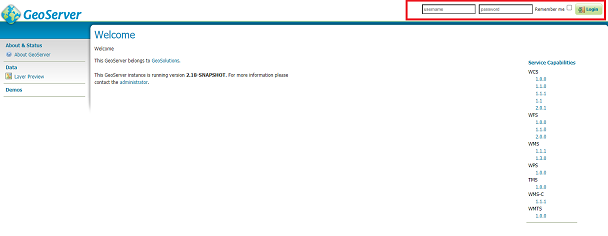
GeoServer welcome page
From the Welcome page, insert in the Login section the credentials user admin and password Geos.
When you are logged on as administrator you can easily distinguish several sections:
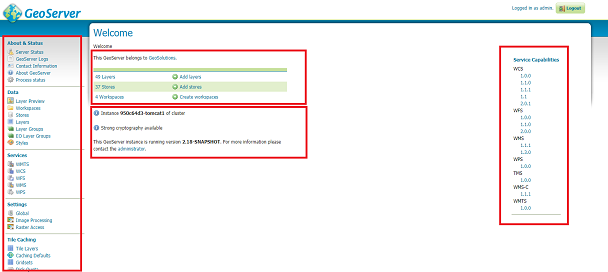
Web Administration Interface sections
- The left section is the navigation menu, it enables the admin to access all the different GeoServer configurations
- The middle-top section gives quick access to the most common actions: list and edit layers, stores, and workspaces.
- The middle-bottom section provides the admin some security advertisement.
- The right section lists all the available services
The most important administration sections are listed below, we will examine other sections later in this workshop:
From the Welcome page, navigate to the Server Status page by clicking the link in the About & Status section.
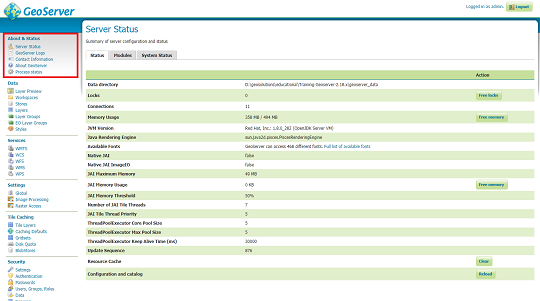
Server Status sections
From the Welcome page, navigate to the GeoServer Logs page by clicking the link in the About & Status section.
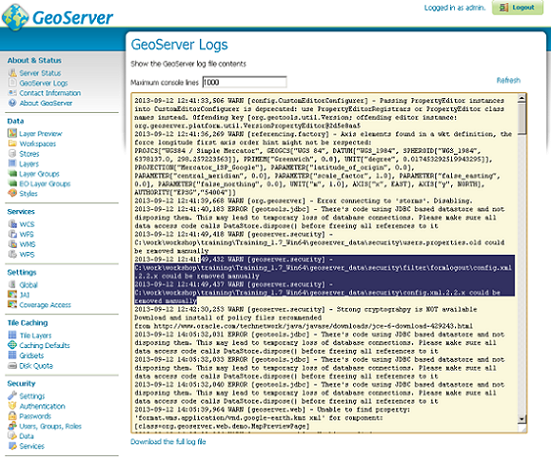
GeoServer Logs sections
From the Welcome page, navigate to the Caching Defaults page by clicking the link in the Tile Caching section.
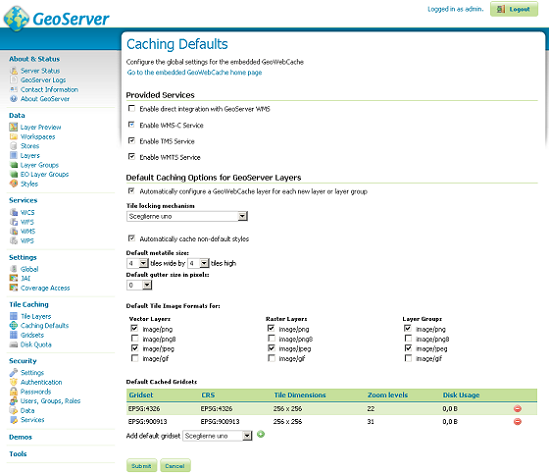
GeoWebCache settings sections
From the Welcome page, navigate to the Contact Information page by clicking the link in the About & Status section.
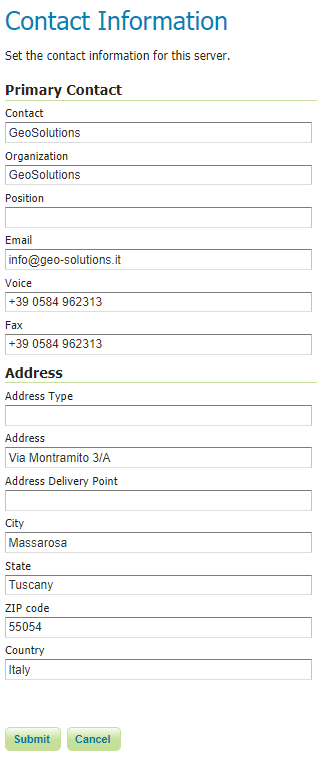
Contact Information sections
From that section, you can fill in Contact Information details
IMPORTANT - For all the links of this training to work correctly, you have to disable the URL parameters encryption under Security –> Settings.
Unselect the Encrypt web admin URL parameters option and Save
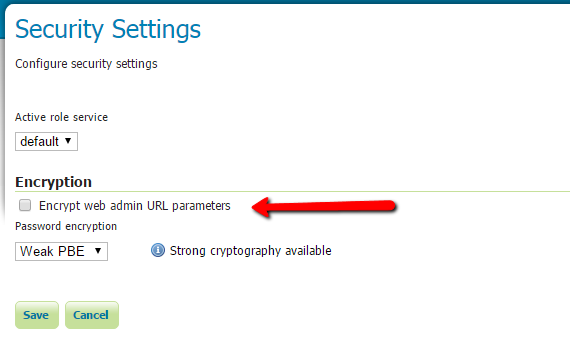
Encrypt web admin URL parameters
