
We are now going to look into the basic steps for performing the installation of the GeoServer Active Clustering Extension.
Installing the GeoServer Active Clustering Extension
Note
The GeoServer available in the training already have the clustering extension installed, the following information is provided for reference. However, remember to do the last step, “Configuration”, as the clustering extension is not active in the training GeoServer instances yet.
Downloading
For the version compatible with the GeoServer 2.13.x contained in this training point your browser here:
https://build.geoserver.org/geoserver/2.13.x/community-latest/
You’ll find 2 different packages:
- geoserver-2.13-SNAPSHOT-jms-cluster-plugin.zip
- geoserver-2.13-SNAPSHOT-activeMQ-broker-plugin.zip
The activeMQ-broker-plugin is a actually standalone minimal ActiveMQ MOM web application packaged as a WAR file, ready to be dropped in a web container (e.g., Tomcat). This is useful if you want to run with a standalone broker.
The cluster plugin adds all the functionalities to GeoServer to work as master or slave.
Installing
Likewise other GeoServer extensions you can install the Active Clustering Extension by:
- Stopping GeoServer
- Dropping the jms-cluster-plugin JARs inside the WEB-INF/lib directory
- Restarting GeoServer
These steps must be performed for each geoserver instance which compose the cluster, regardless of the role the instance will take (master or slave).
Note
The GeoServer used the training material already contains the clustering extension
Once the extension is installed you should be able to see a new section in the GeoServer user interface called Cluster configuration as shown below.
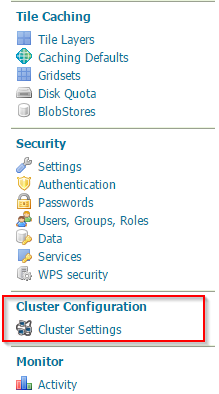
Illustration: GeoServer Active Clustering settings icon
By default the GeoServer start with the following configuration when the clustering extension is installed as is:
- An embedded Broker is started from within the GeoServer Java process
- GeoServer connects to the embedded broker
- GeoServer acts both as Master as well as Slave
- A randomized unique (within the cluster) name is generated
- A cluster folder is created under the GeoServer data directory
Configuration
If you click on the Cluster settings link in a training GeoServer you will find the clustering extension is disabled:
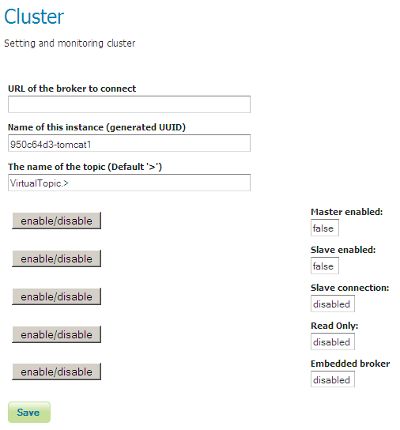
Illustration: GeoServer Active Clustering settings options page, clustering disabled
We are going to enable all the options. Perform the changes in this order (the changes are applied immediately, so the order is important):
- Enable the embedded broker
- Enable master
- Enable slave
- Enable slave connection
- Do not enable the “read only” toggle
The result will be:
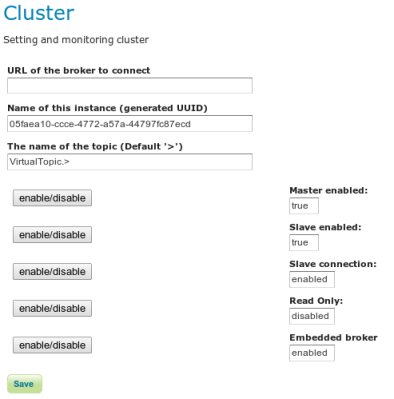
Illustration: GeoServer Active Clustering settings options page
Save the configuration to enable the clustering extension.
The default installation of the GeoServer Active Clustering Extension will turn your GeoServer instance into:
- A running Master/Slave node with the ability to write to its data directory
- An embedded Broker, which means that your instance will host an embedded version of messaging broker
To be more specific the GeoServer instances when acting as a Master will publish configuration changes to its own embedded broker which in turn is configured to automatically discover other Broker in the same network via Multicast (make sure you netadmin is happy about this) and spread the changes over to them as well as to all the GeoServer instances connected to them as Slaves.
Note
Long story short, by default the extension can be used to create a peer-to-peer network of Master/Slave GeoServer instances with private data directory
Let’s now move on and provide more details about how to configure and use the GeoServer Active Clustering Extension.