Creating a Layer Group from a style
Starting with 2.16.x series GeoServer let you set-up a map with more than one layer starting from a style. In this section we will create a CSS style containing more layers and we will use it as a template for creating a new layer group.
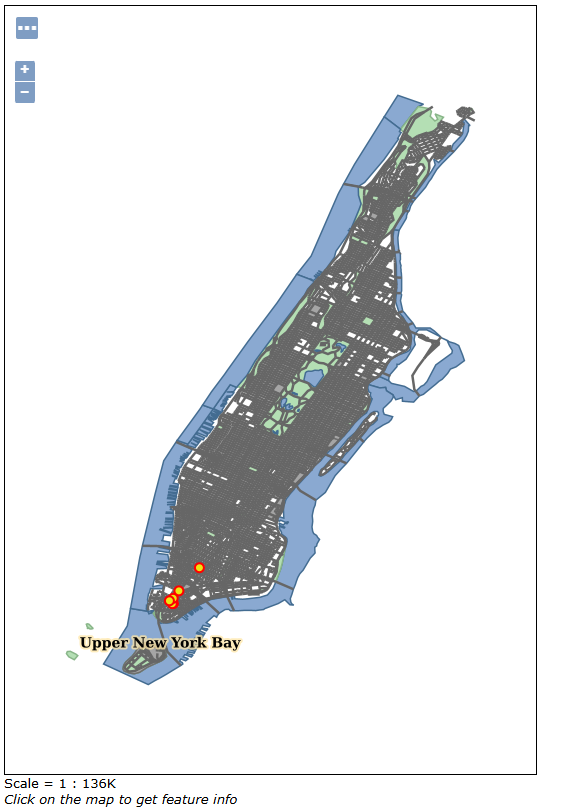
We will replicate the existing tiger-ny layer group. It is composed by four layers each one with an associated style.

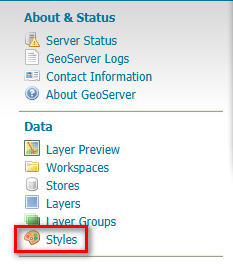
Locate the Styles link and click it.
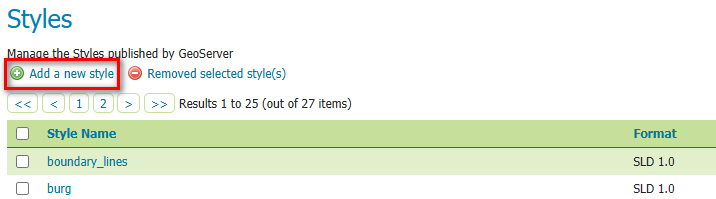
Click the Add a new style link.
Name it
ny-group-styleand selectCSSformat from the dropdown list.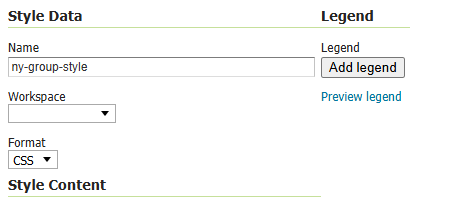
In the code textbox insert the following CSS snippet:
@mode 'Flat';
@stileTitle 'NY group Layer';

/* Background */
tiger:giant_polygon {
fill: #DDDDDD;
fill-opacity: 1.0;
}

/* park and green space */
tiger:poly_landmarks [CFCC IN ('D82', 'D83', 'D84', 'D85')] {
fill: #B4DFB4;
fill-opacity: 1.0;
stroke: #88B588;
}

/* Water */
tiger:poly_landmarks [CFCC IN ('H11', 'H31', 'H41', 'H51')] {
fill: #8AA9D1;
fill-opacity: 1.0;
stroke: #436C91;
}

/* Urban Areas */
tiger:poly_landmarks [CFCC IN ('D31', 'D43', 'D64', 'D65', 'D90', 'E23')] {
fill: #A5A5A5;
fill-opacity: 1.0;
stroke: #6E6E6E;
}

/* Labels */
tiger:poly_landmarks * {
label: [LANAME];
font-family: "Times New Roman";
font-fill: #000000;
font-size: 14;
font-weight: bold;
font-style: normal;

halo-color: #FDE5A5;
halo-radius: 2;
halo-opacity: 0.75;

label-anchor: 0.5 0.5;

-gt-group: true;
-gt-auto-wrap: 100;
}

/* Level 1: Basic line */
tiger:tiger_roads [@sd > 32000] {

    stroke: #666666;
    stroke-width: 2;

}

/* LEVEL 2: The Inner Line & Labels */
tiger:tiger_roads [@sd <= 32000] {
z-index: 0, 1;

stroke: #666666, #FFFFFF;
stroke-width: 7, 4;

label: [NAME];
font-family: "Times New Roman";
font-fill: #000000;
font-size: 14;
font-weight: bold;
font-style: normal;

halo-color: #FFFFFF;
halo-radius: 2;
halo-opacity: 0.85;

-gt-group: true;

/* Line placement is default for line geometries */
/* label-placement: line; */
}

tiger:poi * {
mark: symbol(circle), symbol(circle);
mark-size: 11px, 7px;

:mark {
    fill: #FF0000, #EDE513;
    fill-opacity: 1.0, 1.0;
}
}

tiger:poi [@sd <= 32000] {
label: [NAME];
font-family: "Arial";
font-fill: #000000;
font-size: 14;
font-weight: bold;

halo-color: #FFFFFF;
halo-radius: 2;

label-anchor: 0.5 0.5;
label-offset: 0 -15;
}
Click on the Validate button and check there are no errors in the code.

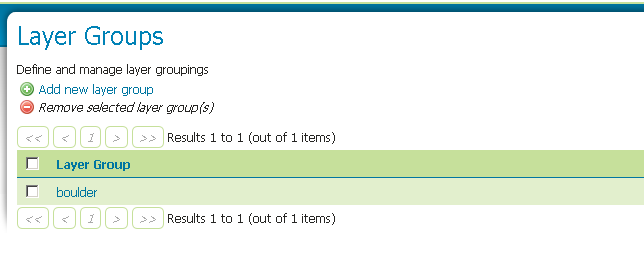
Locate the Layer Groups link and click it.

Click the Add new layer group link.
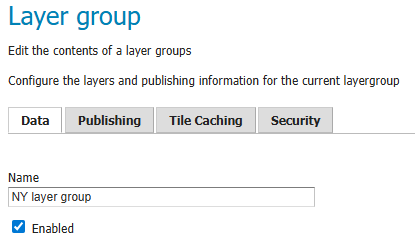
Name it NY layer group, then
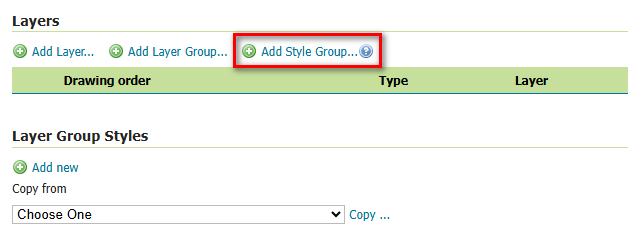
Locate the Add Style Group link and click it.
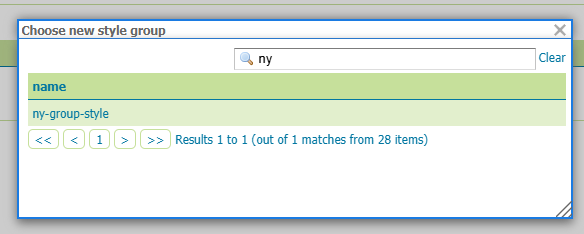
Search the style you created and select it.
A single item is in the drawing order list, associated to the style. You can control the drawing order editing the style.

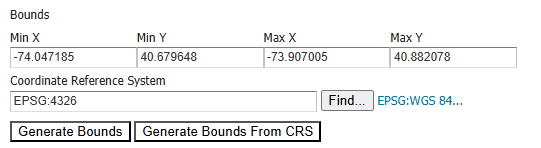
Click on the Generate Bounds button, then click on the save button.
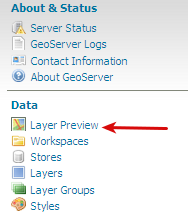
Go to the Layer Preview link at the bottom of the left-hand menu.
Find the NY layer group layer group and click on the OpenLayers link to preview it.